
Car AC Leak Repair Dubai
If a recharge made the AC cold and the cooling faded again, the refill may have revealed a leak pattern rather than solved the cause. We select the leak test according to the system charge, suspected location, leak size and previous repair history.
The return pattern changes which fault is tested first
Time does not identify the leaking part on its own, but it helps distinguish an active refrigerant loss from a performance complaint that may involve airflow, compressor control, sensors or an intermittent electrical fault.
Check the service result
The system may have an incorrect charge, a compressor or control fault, poor condenser airflow, a restriction or another issue unrelated to a slow leak.
Look for an active loss
A larger leak, disturbed joint, damaged hose, condenser impact or service-port fault may leave stronger visual, detector or pressure-test evidence.
Use a sensitive path
Small, temperature-dependent or shaft-seal leakage may need combined methods, careful access and a longer observation period.
Test airflow as well
If road speed restores cooling, fan command or condenser airflow may be more important than leakage. Charge condition still needs to be checked.
No single AC gas leak test finds every leak
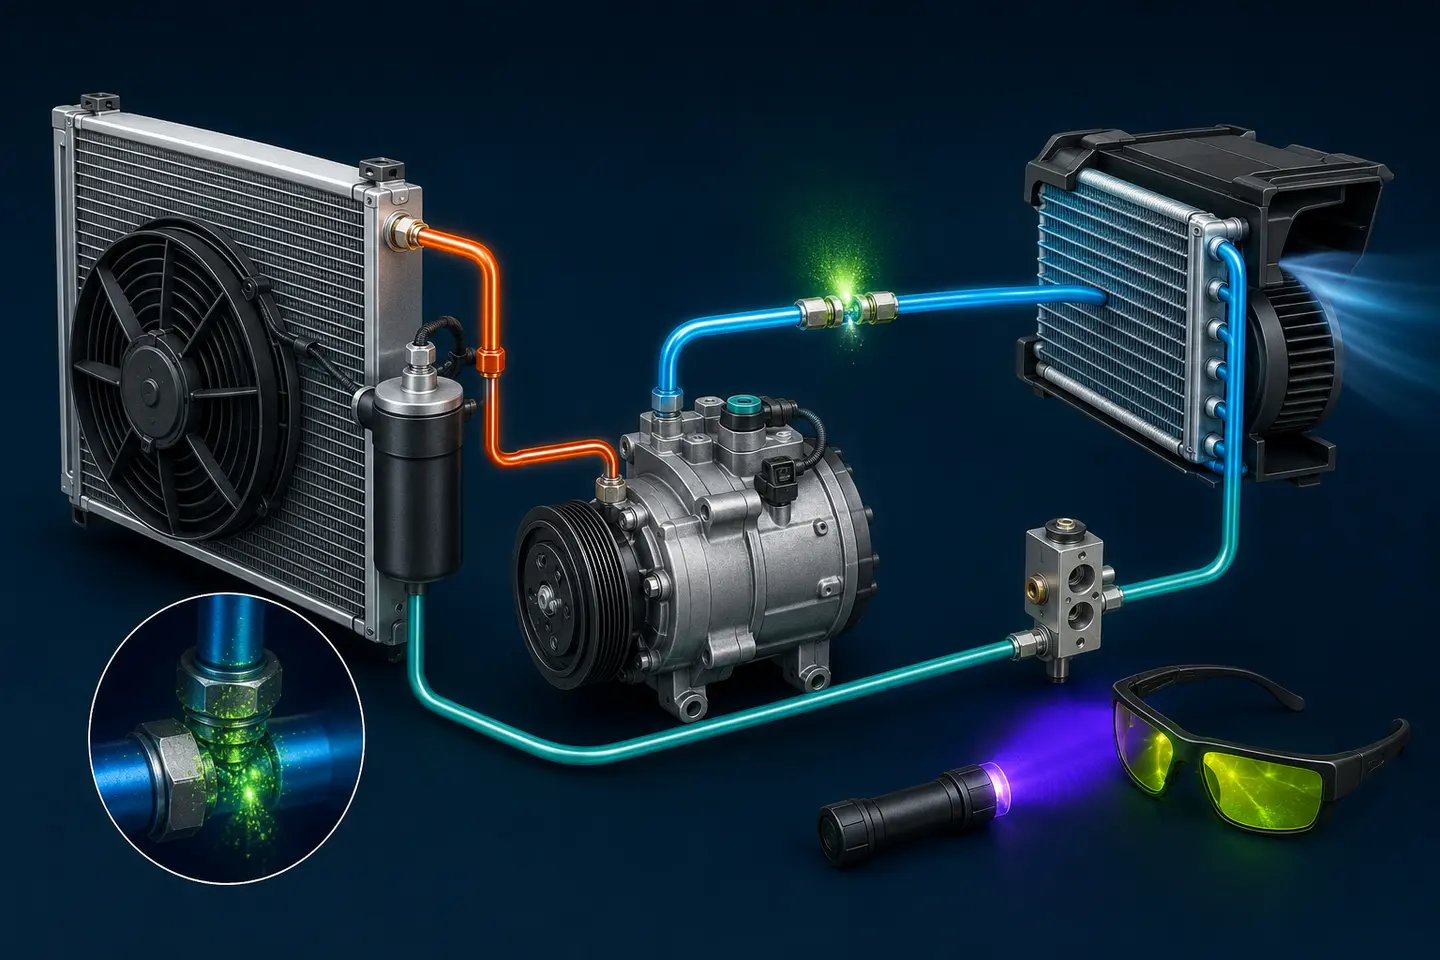
A useful leak diagnosis combines methods instead of treating UV dye, nitrogen, vacuum or an electronic detector as universal proof. Accessibility, charge condition and leak behaviour determine what each method can show.
Visual inspection
Damaged hoses, disturbed joints, front-end impact, oil residue, dye traces and obvious condenser damage.
Many evaporator, shaft-seal and intermittent leaks are not visible from an external inspection. If testing points to a hidden cooling-coil leak, compare the access implications in our evaporator replacement cost guide before approving dashboard work.
UV dye inspection
Locating compatible fluorescent dye that has travelled with refrigerant oil and escaped at an accessible leak.
Very small leaks may not carry enough oil and dye to become visible, and old dye can confuse the result.
Electronic detection
Scanning likely leak points for refrigerant or approved tracer gas with a detector suited to the substance.
Air movement, access, contamination, detector condition and technique affect sensitivity and confidence.
Nitrogen or tracer gas
Pressurising an empty system with the appropriate inert or approved tracer gas to find leakage without releasing service refrigerant.
Pressure, gas selection and test procedure must follow system and equipment guidance. Oxygen or compressed air must not be substituted.
Vacuum hold
Showing that a system does not hold the applied vacuum during the service sequence.
Passing a vacuum hold is not proof that every pressure-dependent or intermittent leak is absent.
Confirm the symptom
Review vent temperature, airflow, compressor operation and whether the cooling loss truly behaves like low refrigerant.
Identify refrigerant and charge condition
Check the vehicle label and service data. Recover and measure refrigerant when the diagnostic path requires opening or recharging the circuit.
Inspect common and recently disturbed areas
Review service ports, hose crimps, joints, condenser, compressor area and any location affected by recent repairs or collision work.
Apply the suitable detection method
Use compatible dye evidence, electronic detection, pressure testing or an approved tracer-gas method according to the system state.
Repair and re-test
Replace seals, repair or replace the confirmed component, then verify the system before evacuation and measured recharge.
The location changes the repair and labour
A seal at an accessible pipe joint is a different job from an evaporator inside the dashboard. The quote should separate the confirmed leak point from any additional work needed to reach, clean or test it.
Condenser
Stone impact, corrosion, vibration or damaged joints can release refrigerant. Front-end access and fan condition also need review.
Compressor and seals
Shaft seals, case seals, control valves and hose connections may leak. Compressor condition affects repair versus replacement.
Hoses, tubes and joints
Crimps, O-rings, service ports, rubbing points and disturbed connections are common inspection areas.
Evaporator
An evaporator leak may be difficult to see directly. Drain-tube evidence, electronic detection and model-specific access can be relevant.
Valve cores and caps
A service-port leak can be small but persistent. Correct caps and valve components are part of the sealing system.
Disturbed connections
Front-end, engine, dashboard or AC repairs can leave a joint, pipe or seal vulnerable. Tell us what work was done and when.
Why two AC leaks can have very different costs
We provide the written estimate after identifying the exact vehicle specification, fault evidence and repair scope. Hidden damage or a second leak is explained before additional work. When several proven leaks or contamination connect the repair into one larger scope, compare the focused route with a full AC overhaul versus piece-by-piece repair before approving repeated visits.
Verification should prove more than a cold vent
A cold vent immediately after charging is useful, but it does not by itself confirm that the circuit is sealed or that every operating condition is correct.
Seal and charge checks
The disturbed joints and repaired area are rechecked with the method appropriate to the job. The circuit is evacuated and charged with the specified refrigerant mass. Oil balance is handled according to the replaced component and vehicle information rather than by adding an arbitrary amount.
Performance checks
Cooling is reviewed with the blower, recirculation, engine speed and ambient conditions recorded. Fan operation, compressor command and pressure behaviour help show whether the original complaint has been resolved or a second fault remains.
Do not use DIY sealers as a shortcut
Leak-stop additives can contaminate equipment, restrict control valves and complicate later diagnosis. The appropriate repair is to confirm the leak and correct the failed seal, joint, hose or component.
Do not release refrigerant to test the system
Refrigerant circuits are pressurised and require suitable recovery and service equipment. Do not press service valves, open fittings or attempt a pressure test with oxygen or compressed air.
Why methods are combined
AC leak questions answered
Bring the refill history. It is often more useful than guessing the leaking part.
How do I know if my car AC has a gas leak?
Cooling that improves after a recharge and fades again is a strong reason to test for leakage, but it is not proof of a specific leak. Oily residue, dye evidence and detector results can support the diagnosis.
Is UV dye the best AC leak test?
UV dye is useful when compatible dye and oil escape at an accessible point. It may miss very small leaks or confuse old and new traces. Electronic detection and pressure or tracer-gas testing may be needed.
What is a nitrogen leak test?
The refrigerant is recovered where required and the empty system is tested using the appropriate oxygen-free nitrogen or approved tracer-gas procedure. The pressure and equipment must follow vehicle and tool guidance.
Can you repair a leaking AC hose?
Some hose assemblies can be repaired by a suitable specialist, while others are safer or more economical to replace. Hose condition, fitting design, routing and parts availability control the decision.
How much does car AC leak repair cost in Dubai?
Our September 2026 car AC price guide shows AED 150 to 850 across leak detection and many minor accessible repairs. Component replacement, dashboard access and complex diagnosis can cost more. A written estimate follows confirmation of the fault.
Should I refill the gas again before testing?
If the system has already lost a recharge, tell us when and how fast. Adding more refrigerant without a diagnostic plan may only repeat the cost and delay the repair.
Tell us when the last refill stopped cooling
Send the vehicle make, model, year, last recharge date and how quickly the warm air returned. We will arrange the appropriate car AC leak detection path at AMF Auto Services, 39 Al Quoz 4, Dubai.